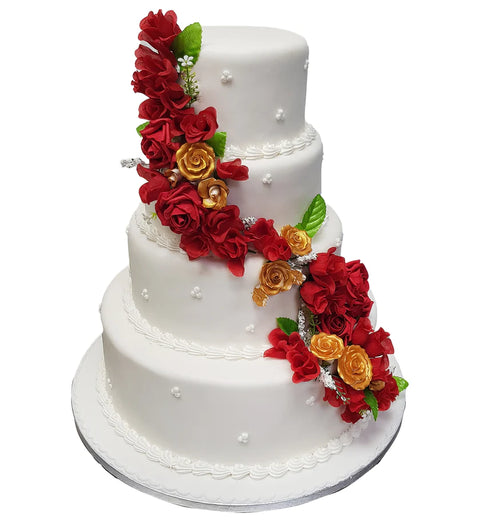
As the sleigh bells jingle and the scent of festive delights fills the air, it's time to embark on a culinary journey that blends taste and artistry. At CakeForest in Croydon, we're thrilled to unveil our secret recipe for transforming your Christmas cake into a dazzling masterpiece that not only delights your taste buds but also becomes the show stopper of your festive celebration.
Get ready to sprinkle a bit of enchantment on your dessert table with our step-by-step guide to DIY Christmas cake decorating – where every fondant figure tells a story, and every bite is a delicious adventure!
Step 1: Choose the Perfect Cake Base
 Picture this: a rich fruitcake, soaked in brandy, ready to be the star of your festive show. Imagine the joyous anticipation as you await its cool embrace before diving into the world of decorations. The canvas is set, and your masterpiece awaits!
Step 2: Crumb Coating for a Flawless Finish
Enter the realm of perfection with a crumb coat – a magical shield that transforms your cake into a flawless canvas. Spread a thin layer of buttercream, sealing in the goodness and providing the perfect foundation for the sweet wonders that follow.
Step 3: Roll Out the Fondant
As you roll out your fondant, think of it as unwrapping a gift for your cake – a velvety layer that promises to add a touch of elegance. Gently drape it over your creation, smoothing it with finesse. Trim the excess, and voilà – your cake is now adorned in a sugary embrace.
Step 4: Christmas-Inspired Colour Palette
Dive into a palette of rich reds, deep greens, and snowy whites – the very essence of a British Christmas. With gel food colours as your magical paintbrush, watch as your creation comes to life, exuding warmth and festive cheer.
Step 5: Festive Flavours: Infusing Your Fondant
What's a magical creation without a burst of flavour? Infuse your fondant with cinnamon, nutmeg, or orange zest – a spellbinding touch that promises to transport taste buds to the heart of the season.
Step 6: Sculpting Festive Figures
Now, let the real magic begin! Sculpt fondant into miniature wonders – snowmen with top hats, Christmas trees adorned with edible baubles, and perhaps a tiny red phone booth for a touch of British charm. The enchantment is in your hands!
Step 7: Royal Icing Piping Techniques
As you master the art of royal icing, imagine yourself as a culinary artist crafting delicate snowflakes and intricate patterns. Let your piping bag dance across the cake, creating a winter wonderland that captivates with every stroke.
Step 8: Edible Glitter and Gold Leaf Accents
Elevate your creation to celestial heights with edible glitter and gold leaf accents. Picture your cake adorned in glistening splendour, catching the light like freshly fallen snow – a feast for the eyes as well as the taste buds.
Step 9: Adding Texture with Fondant Ribbons
In the grand finale, weave fondant ribbons into intricate patterns, creating a masterpiece that's not just a cake but a work of art. Imagine the texture beneath your fingertips, a tactile sensation that adds an extra layer of enchantment.
Step 10: Finishing Touches and Presentation
Place your creation on a festive cake stand surrounded by pine cones, holly leaves, and twinkling fairy lights. Step back and bask in the magic – your edible masterpiece is now ready to steal the show!
As you share your enchanting creation with loved ones, remember that each slice carries a story, each fondant figure a piece of your imagination. At CakeForest, we believe in turning desserts into dreams, and this festive season, let your Christmas cake be the fairy tale ending your celebration deserves. Unwrap the magic, and let the enchantment begin! Happy decorating!


